I have an obsession with antique laces and dollies. Whenever I get a few extra dollars I am looking on Ebay or my local antique shops for collections of hand stitched dollies. Believe me, I am thankful for my understanding husband. I am on the lookout for ideas to use these little bits of treasure...and decided to use a few of my favorites to make a collection of dream catchers for my guest room.
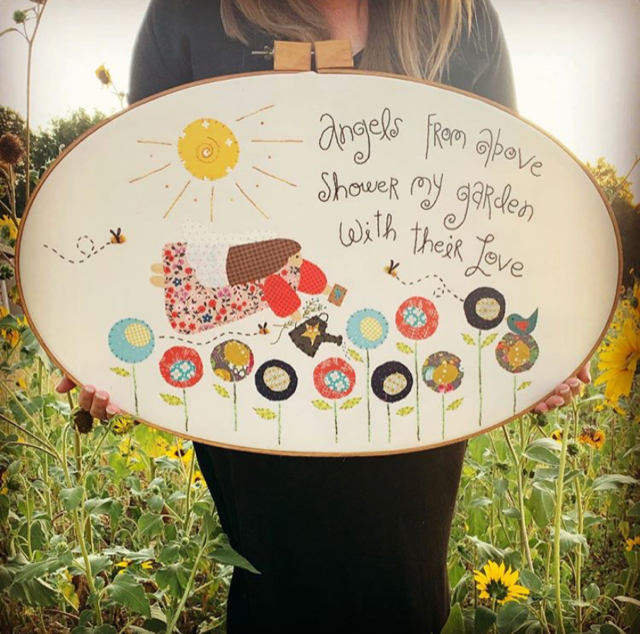
They are super simple to make and there are no rules to the creativity allowed in this project! I have designed a simple embroidery pattern called Follow Your Dreams for the center of the largest catcher, for those of you who like handwork as much as I do. If you are new to embroidery, don't worry...I'll post a few stitching steps to help you. It's pretty easy!
The materials you need for this project are....
a wood embroidery hoop
a lace dollie
scissors
ribbon
lace
beads
feathers
trinkets
needle
dmc floss
glue
fabric tracing pen
small 5" square piece of muslin
leather strips
the first step once is to find a lace dollie. As I mentioned my favorite place to find them is on Ebay. My second favorite place is at our local antique shop. You may be one of the lucky ones who has a grandma with a stack of them in her closet just waiting to be reborn. Where ever you find them, pick one that is either slightly larger than your hoop or one that fits inside your hoop with space to spare. Let me explain...
There are two ways to display your lace in the dream catcher hoop. You can either stretch it out over the sides of the inside hoop for a tight look (like the one with Follow Your Dreams embroidery) or you can set the lace inside and "lace" it to the frame (see picture below). It totally depends on your dollie and how you want it displayed. If it is a heirloom and you do not want to damage it in anyway...it is best to "lace" it onto the hoop. If you are ok trimming the excess off the edges, then stretch it into the hoop.
The best way to "lace" a dollie onto the hoop is to pin the edges tightly to the wood hoop where you want them. Then with a coordinating floss tie off the end at your beginning point. Loosely loop the floss through the openings of the dollie and pull just enough to get the tightness that you desire. Once you have laced it all the way around...take out the pins holding it in place and secure the outer hoop over the edge of the inner hoop and clamp it down tight.
If you are wanting to embroider the Follow Your Dream center, the template for the pattern is posted below. You can print off the picture and size it to the small embroidery hoop you are using. Mine was a 4". Use a fabric template marker to trace the design onto your muslin. My favorite tracing marker is the Pilot Frixion Erasable Pen. I love it because it gives me a fine tracing fine and erases with light heat from my iron.
When you are done tracing it is time to get stitching!
Back-stitch - This is the most basic stitch of embroidery. You start by going about 1/4" forward on the line you are stitching and go up from underneath through the line and then go down about a 1/4" from your beginning point. Repeat this over and over again to complete a solid line.
French Knot - To make a french knot go up from the underneath of the stitch and pull the floss tight. Wrap the floss around the needle three times and push the needle through very close to the spot where the floss came up. Gently pull the needle through working the knot loose from the needle and pull tight to make a perfect french knot.
Laisy Daisy Stitch - This stitch is used for leaves and petals in many patterns. You start at the base of your leaf and go up from the bottom of the stitch until the string will not come any further and then go back down close to the spot you came up through. As you pull it through it will make a large loop. Pull the string until it makes a loose loop. Take your needle from the underside of the stitch coming up at the top of the petal. Hold your needle in place and place the loop string over the top of the needle and slowly pull it tight. Then tack the "leaf" down at the top!
Glue on feathers with fabric glue and let dry. Cut around edges to make a circle. Pin to center circle of dollie and using a sewing machine or a hand stitch, zig zag stitch your embroidery piece to the dollie. Go slow so the dollie doesn't bunch. After you have the stitch sewn onto the dollie it's time to stretch the dollie over the inside hoop and secure tightly with the top hoop.
Once your dollie is either stretched or laced onto the frame, it's time to embellish your dream catcher with lace, ribbons, leather, jewels, beads, and feathers!
To get the lace look for a fraction of the cost of ribbon by the yard, I purchase a yard or two of several styles of bolt lace that I like and cut it into strips. I figure it is about a quarter of the cost of pre-cut lace by the yard. I like to cut the strips into 2 1/2 inch to 3 inch strips depending on how large the hoop is and how much space needs to be filled in.
Tie on the lace and fill in with ribbon, fabric strips, leather strips or anything else you like. To attach feathers to the leather strips slide three or four beads onto the strips. Find a few feathers you want to attach and using your fingers hold the quills against the leather strip. Slide the beads down over the feather quills until they are snug.
Once all the spaces are filled in and the dream catcher looks perfect to you...it's time to tie on a hanging loop using the leather stripping and it's ready to hang. Hang on your favorite wall and enjoy sweet dreams. Follow your dreams...they know the way!
Welcome to Tweetle Dee, where we believe in celebrating and dreaming every day, while using creativity to find joy in life's moments together. Join us for an inspiring journey!
The content of this website is the sole property of Abby Hicks. Feel free to link to this blog, but please respect my hard work by not removing or posting any of its content without consent. Thank you!


No comments:
Post a Comment